
Import customer profiles when you need to bring existing customer data into Hellotext before using it in audiences, campaigns, playbooks, journeys, or Inbox workflows.
An import can create customer profiles, update their properties, and add them to lists. The exact steps depend on whether the data comes from an integration or a file.
This is product guidance for operating Hellotext. It does not replace legal or compliance review for the countries and channels you use.
Choose an integration or a file
Use an integration when your customer data already lives in a supported eCommerce or service platform and should continue syncing with Hellotext.
Use a file for a one-time migration, cleanup, or CRM export saved as CSV or TXT.
These paths work differently:
| Integration | File |
|---|---|
| The integration defines how source fields map to Hellotext. | You map each file column to a customer profile property. |
| Subscription status comes from the connected source when supported. | You choose the subscription state for new profiles; existing profiles keep theirs. |
| It can continue syncing data after the initial import. | It imports a snapshot of the file. |
| Some integrations can also import order history. | A file import does not import order history. |
Start an import
- Go to Audience.
- Open the add menu and choose Import Customers.
- Choose Connect a service or Choose a file to upload.
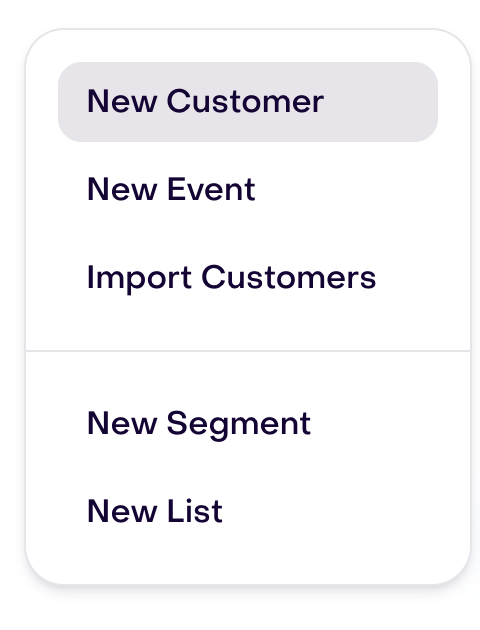
The next screen shows both paths:

If you choose Connect a service, Hellotext takes you through that integration’s setup. Depending on the integration, you may be asked whether to import customers and which lists should receive them. Mapping and consent may be handled automatically from the source.
If you choose a file, continue with the steps below.
Prepare and upload a file
Before uploading:
- Use a CSV or TXT file with one customer per row.
- Include at least one reliable identifier, such as a phone number or email.
- Use the first row for clear column names.
- Keep dates, phone numbers, currency, and other values in a consistent format.
- Remove test, internal, invalid, or duplicate rows when possible.
- Separate profiles with confirmed marketing consent from profiles whose consent is unknown.
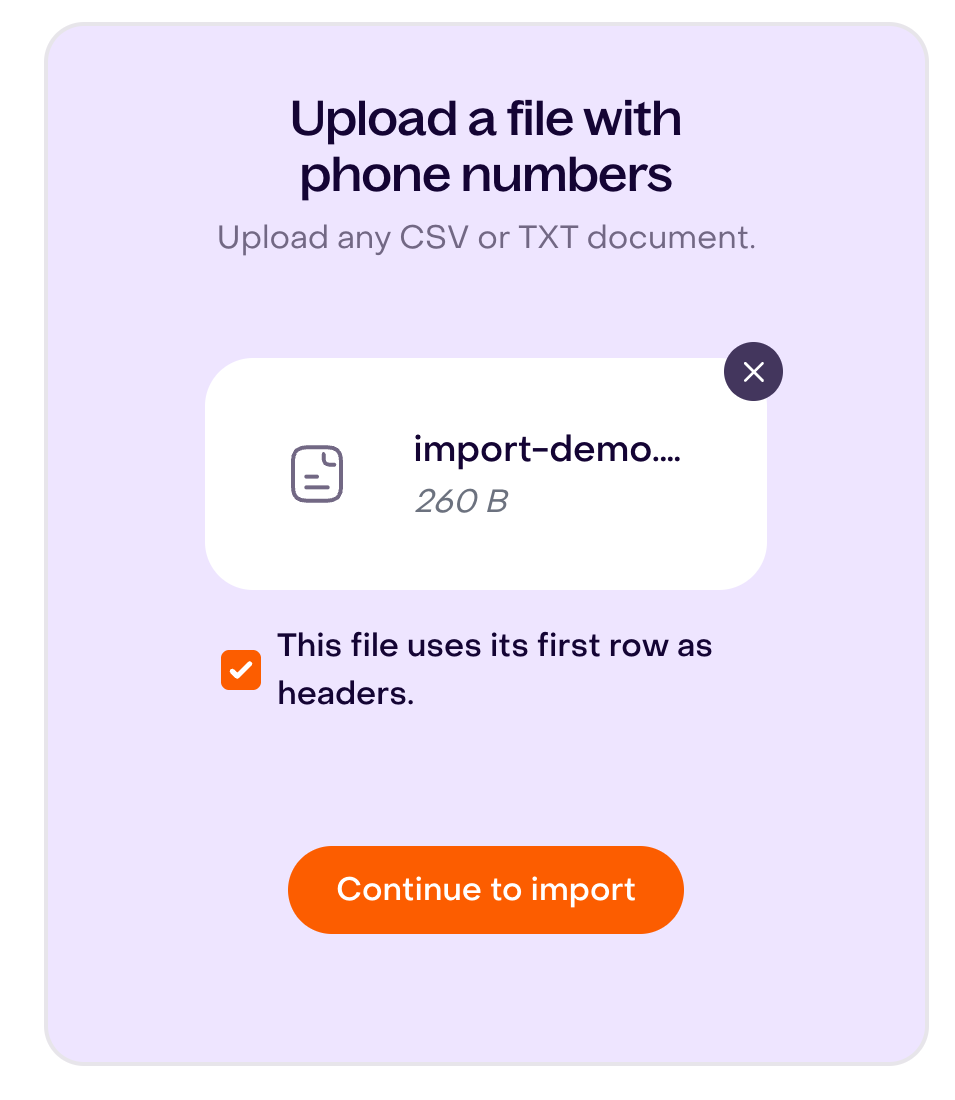
Drag the file into the upload area or choose it from your computer. Always prepare the first row with column names: the importer uses it as the header and does not import it as a profile. Hellotext detects the file separator before continuing.
When the file name appears, select Continue to import to move to column mapping.
Map columns to profile properties
Hellotext shows each file column so you can choose which customer profile property it should update.

- Map only the columns you want to import. Unmapped columns are skipped.
- Before starting the import, create any custom properties you need in Audience; during mapping, select existing properties.
- Map each profile property only once in the same import.
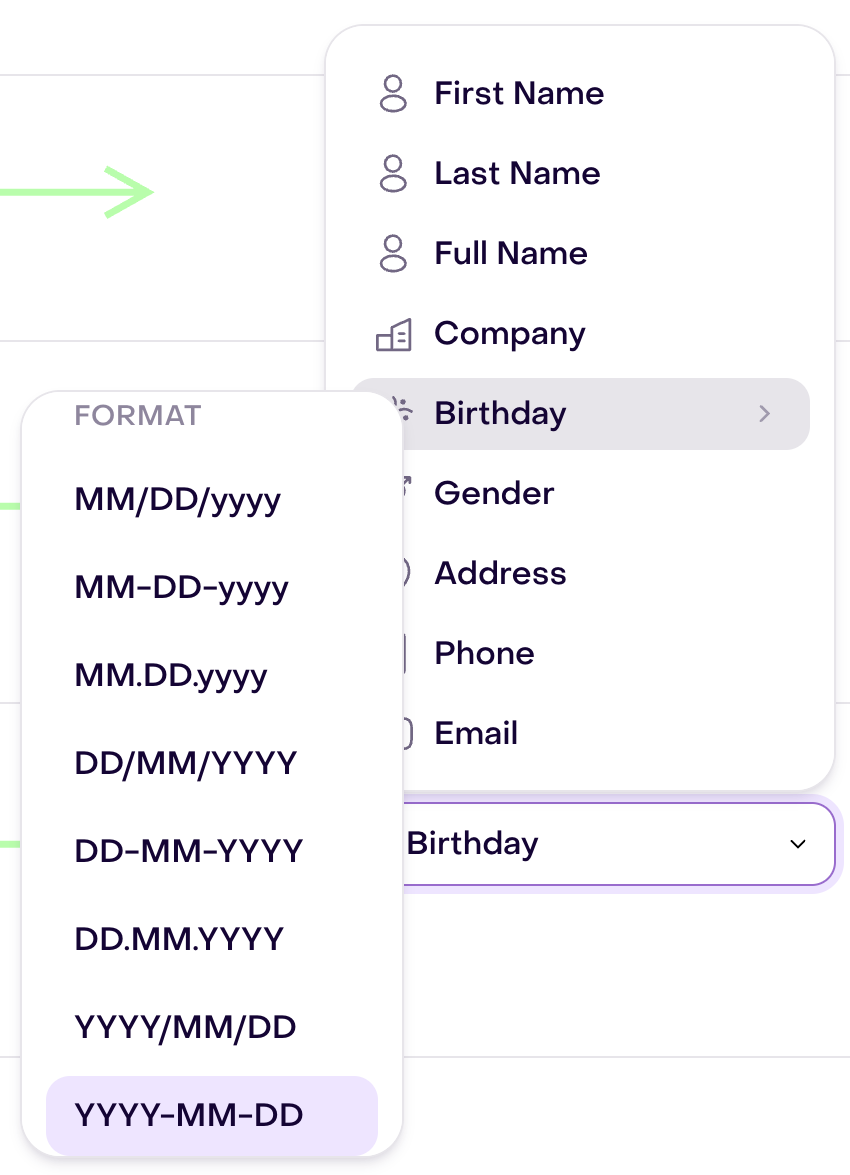
- For phone numbers, dates, or money, review the country, date format, or currency setting that appears.
For example, when mapping a column to Birthday, check the file’s date format:
If two columns represent the same property, choose the cleaner one or combine them in the source file before importing.
After reviewing the mappings, select Save & Continue to move to the consent question.
Choose the subscription state
For a file import, Hellotext asks whether the customers have consented to marketing promotions.
- Answer Yes only if every record in the file has confirmed consent.
- Answer No if you do not have reliable evidence of consent for every record.

The choice sets the subscription state of newly created profiles. If a row matches an existing profile, the import keeps that profile’s current subscription state; review it separately before using the audience. If the file contains records with and without confirmed consent, split it into separate imports. Do not answer Yes based only on the presence of a phone number or email address.
This choice is specific to file imports. A connected integration can supply subscription status from its own source instead.
After choosing an answer, select Save & Continue to organize the profiles into lists.
Keep reading: Who can I message? Consent and subscriber status.
Choose lists and existing-data behavior
Before starting the import, you can add the imported profiles to one or more lists. This is useful for reviewing the result or creating a fixed audience based on the import source.
You can also choose whether mapped file values should overwrite the properties of existing profiles:
- Leave overwriting off when the file may be incomplete or older than the data already in Hellotext.
- Turn it on when the file is the source of truth and its mapped values should replace existing ones.
Review this option carefully: it does not itself change existing profiles’ subscription state.

After reviewing the lists and overwrite choice, select Save & Start import. This starts processing the profiles in the background.
Review the result
Imports run in the background. You can leave the import page while Hellotext deduplicates and processes the rows.
When it finishes, review:
- How many profiles were imported and how many have partial or invalid property values.
- Whether the profiles were added to the expected lists.
- Whether identifiers, dates, currency, and custom properties look correct.
- Whether new profiles have the subscription state chosen for the file or supplied by the integration, and existing profiles kept theirs.
- Whether segments based on the imported properties update as expected.
Open a few profiles before using the imported audience. If some profiles have errors, correct the source values and reimport only the affected records.